A wreath is a classic holiday piece that can be used in a variety of ways.
You can use it as a festive focal point for an entryway, a warm welcome on a front door, or an exquisite centerpiece wrapped around glowing pillar, or 3- wick candles. When making your own holiday décor, the goal should always be to find a simple solution with stunning results.

One of my biggest secrets for this particular project is to use an artificial wreath as your base. Its pre-wired foliage makes a great foundation. At the same time, purchasing your fake wreath is not an opportune time to be frugal. Spend the extra money on a quality wreath so it will last for many holidays to come. I found one with glittery gold pinecones already included.
Before you splurge on additional supplies, start with what’s already in your garden. You’ll be amazed at how much greenery you already have to make a beautiful wreath.
You can also find the items from the Southern Living Plant Collection at your local garden center.

Step 1: Cut and place greenery in water.
Tip: When cutting from your garden, always have several gallon buckets filled halfway with water. Soak your clippings for 5-8 hours. This allows your greenery to drink plenty of water so your wreath will remain fresh for the entire holiday season.
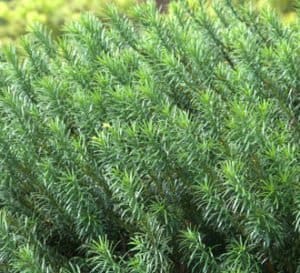
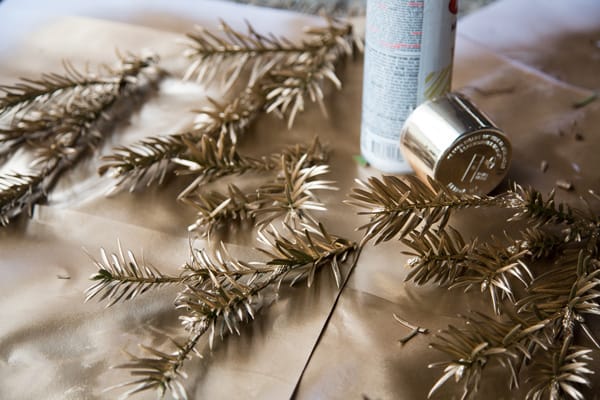
Step 2: Spray paint your Yewtopia® Plum Yew and allow plenty of time for it to dry.
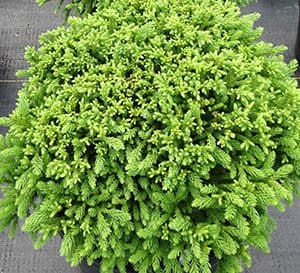
Step 3: Start at the top of your wreath and work your way around it wiring in the Cryptomeria first. It’s flat and works great as your foundation!
Tip: If you decide to create a centerpiece like the one pictured here, don’t worry about wiring in the foliage—just tuck it into your base wreath for an easy, no-fuss project.
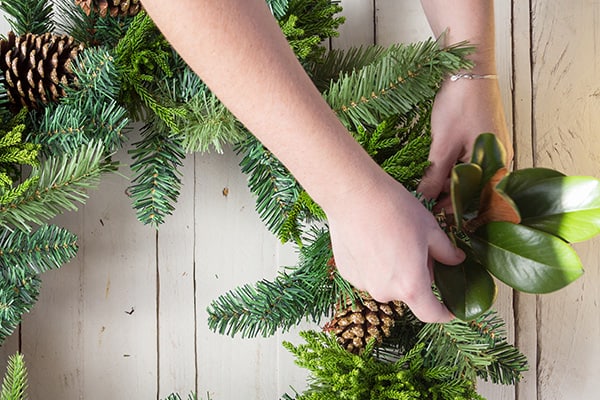
Step 4: Add your Magnolia leaf clusters to complement the cryptomeria.
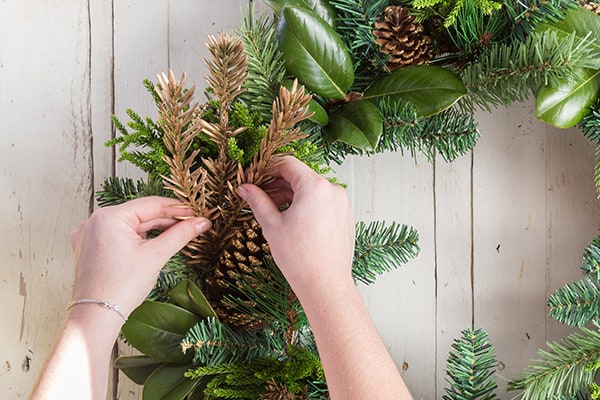
Step 5: Once the Yewtopia® Plum Yew is dry, use it to continue filling in your wreath. With its new gold finesse and wispy texture, it adds lots of warmth.
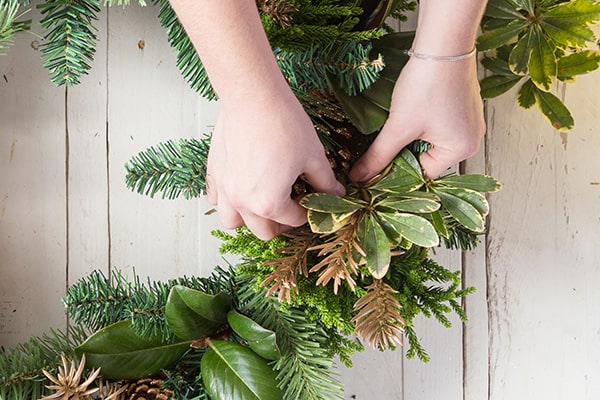
Step 6: Now it’s time to highlight your wreath using Mojo® Pittosporum.
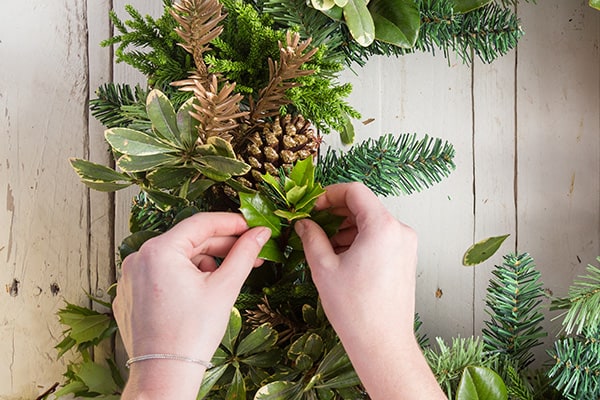
Step 7: Use the Oakland™ Holly to fill in the rest of the holes.

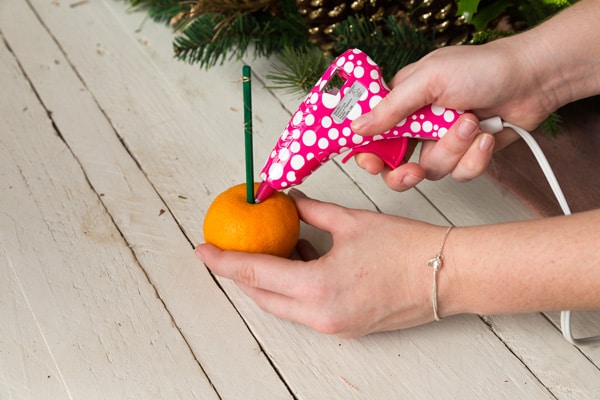

Step 8: Add fresh fruit to the wreath.
Tip: To keep your fruit fresh longer, skewer the piece of fruit and use a hot-glue gun to surround the space where the skewer enters the fruit.

Step 9: To give your wreath extra flair, you can add a ribbon or bow or just enjoy its natural look.
We tucked a wired gold ribbon into the wreath at intervals. If you are hanging this, you’ll want to wire the ribbon in.
Tip: To keep your wreath fresh, mist with water twice a week. After the holidays, remove all of the greenery and store your wreath for next year.
Now it’s time to deck the halls with your holiday wreath! Hang it, lean it or lay it…Wherever you decide it looks best! Prepare yourself for a continuous chorus of ‘Ooohs’ and ‘Ahhhs’ as your friends and family fall captive to its exceptional charm.
