Below are some soil composition tests you can perform to help ensure you either select appropriate plants that will thrive in your landscape or properly amend the soil to grow healthy plants.
1. Soil Texture Test: Clay, Sandy, Silty, Loamy
Soil texture refers to the size of individual soil particles and is determined by the relative proportion of clay, sand, and silt. Knowing the texture of your soil helps you understand more about how the soil holds moisture and encourages root growth and development.
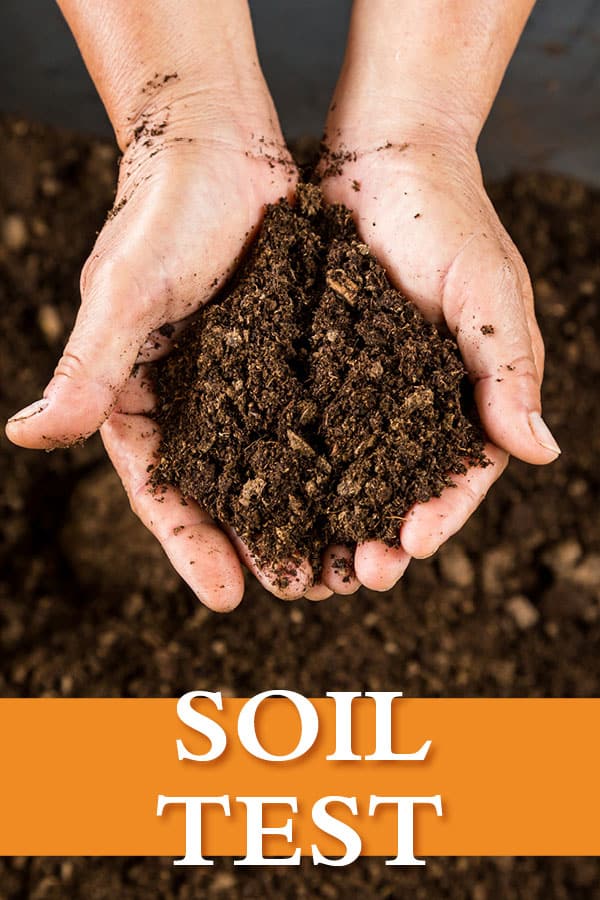
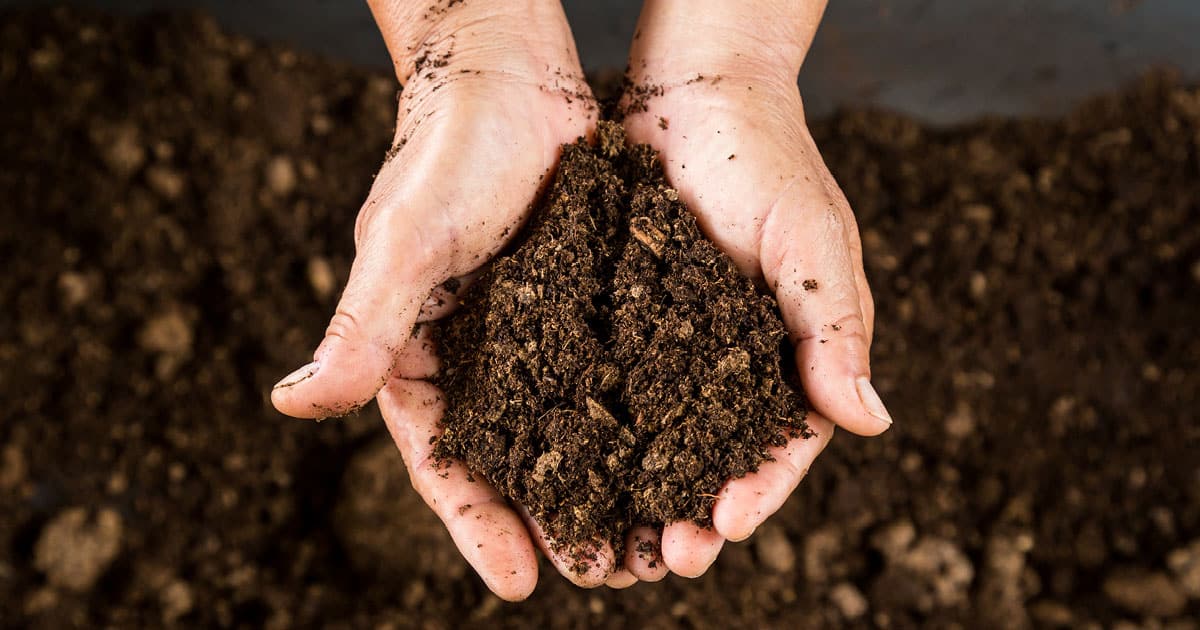
Determine soil texture by rubbing a moist (not wet) sample of soil between the forefinger and thumb or by firmly squeezing a moist soil sample in the hand.
- Clay soil is sticky and will hold its shape. It retains moisture and nutrients, but has poor drainage and can impede root penetration when too compact or dry.
- Sandy soil feels gritty and will fall apart when opening your hand. It drains well, but is low in nutrients and requires more fertilizer.
- Silty soil feels smooth or slippery and will hold its shape, but not as stubbornly as clay. It has larger particles than clay and smaller particles than sand, so it combines the characteristics of clay and sandy soils.
- Loamy soil is a blend of all soil textures and so holds its shape, but crumbles when lightly poked. Its soil is a perfect combination of clay, sand, and silt, making it the horticulturists preferred texture.
If one soil texture is predominant in your landscape, choose plants that can handle the soil’s strengths and weaknesses or amend the soil to produce Loamy characteristics.
2. Soil Drainage Test
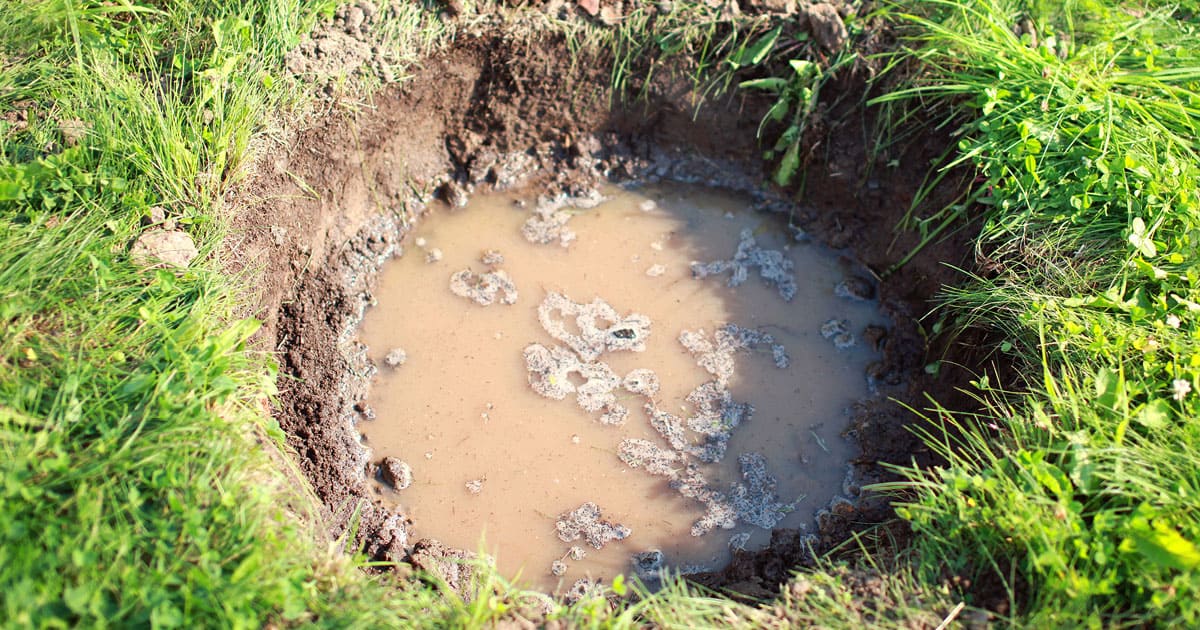
The time it takes for your soil to drain water is important since some plants prefer well-drained garden soil while others prefer a water garden. Your soil’s texture will be a good indicator as to how well it will or will not drain, but a drainage test is easy and accurate, especially if testing blended soils and/or different areas within the landscape.
- Dig a hole about one foot deep and 4 inches wide.
- Fill the hole with water and let the water drain completely.
- Fill the hole with water again, but time how long it takes for the water to drain completely.
If the water drains immediately the drainage is good, but you may have to water deeper and/or more frequently. If the water takes more than 4 hours to drain, the drainage is poor and you should either plant water lovers or amend the soil with rocks and/or sand for better drainage.
3. Soil Nutrient Test: Worm Count
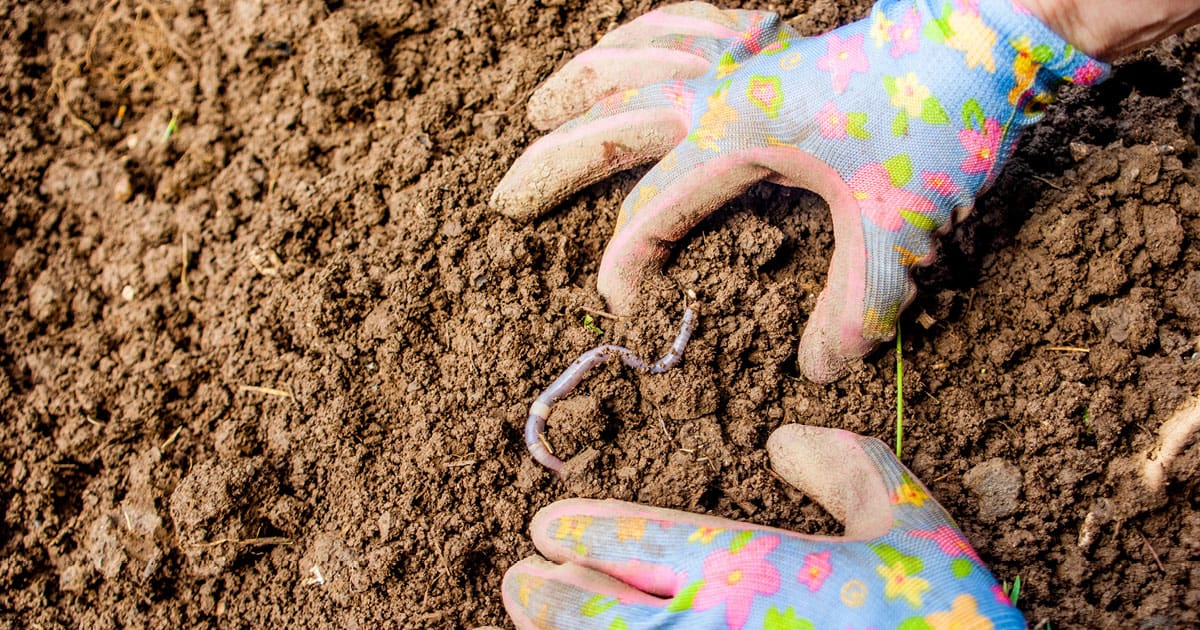
Rather than purchasing a soil nutrient testing kit, save time and money by counting the number of worms in your soil. The presence of worms means the soil has plenty of biological activity including healthy microbes and bacteria needed to promote strong plants. If you find 10 worms or more, your soil is rich with nutrients. If you find significantly less than 10 worms, your soil needs more organic matter and perhaps an increase/decrease in pH depending on the plants preferred pH level.
- In moist and warm (at least 55 degrees Fahrenheit) soil, dig a hole that is one foot deep and one foot wide.
- Lay plastic or tarp on top of the hole and place the soil on top of the plastic or tarp.
- Sift through the soil and count your worms.
4. Soil pH Tests: Acid vs Alkaline
Soil pH is the measure of acidity and alkalinity in soil chemistry. Plant nutrients are affected by soil pH as the pH controls the nutrient’s chemical form. Different plants have preferred pH levels, which is measured on a scale of 1 – 14 with measurements under 7 indicating acidic soil, measurements above 7 indicating alkaline soil, and 7 indicating neutral soil.
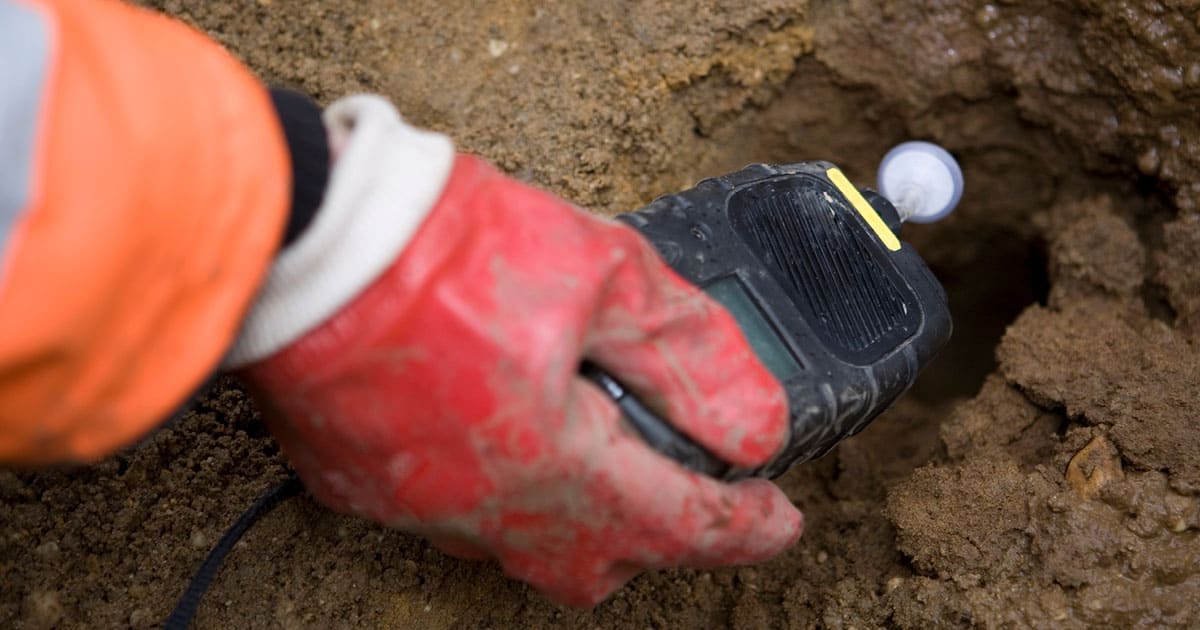
Buy or rent an electronic pH meter and follow the manufacturer’s instructions for accuracy. Typically, you will prepare the ground by digging a small hole with a trowel or spade. Fill the hole with distilled (neutral pH) water until the soil is muddy and insert the meter’s test probe into the muddy soil for 60 seconds. The meter will show the soil’s accurate pH level.
Buy a pH testing kit with barium sulphate or litmus paper and follow the manufacturer’s instructions for accuracy. The general instructions for barium sulphate is to put some barium suplhate in the bottom of a test tube and drop some soil sample on top. Fill the test tube with water and the cloudiness of the water indicates the amount of pH. Similarly, if using litmus paper, mix soil with distilled water and insert the paper. If the paper turns red the soil is acidic and if the paper is blue the soil is alkaline. Be sure to follow the manufacturer’s instructions for accuracy.
Perform a Do It Yourself test following these instructions:
1. Add the soil sample to a container and pour ½ cup of vinegar on top.
The soil is alkaline if the soil bubbles or fizzes.
2. If the soil does not react to the vinegar, add another soil sample to a clean container and mix in distilled (neutral pH) water until the soil is muddy.
3. Add ½ cup of baking soda and if the soil bubbles or fizzes, the soil is acidic.
4. You can amend a soil’s pH level organically with many household items. Introduce more acid to the soil with tea, vinegar, coffee grounds, and saw dust.
Coffee grounds increase acidity as well as Nitrogen and sawdust increase Carbon – a balanced combination when used together.
If your soil is too acidic and you need a higher pH, try wood ash, eggshells, and lime. Wood ash from a wood-burning stove or fireplace increases Potassium and dried, broken eggshells increase calcium. Lime is the most common treatment, but if your soil has high amounts of Magnesium (not good for plants), choose a calcium-rich ingredient like the egg shells.
Pin it for later!
