By Kimberly Toscano
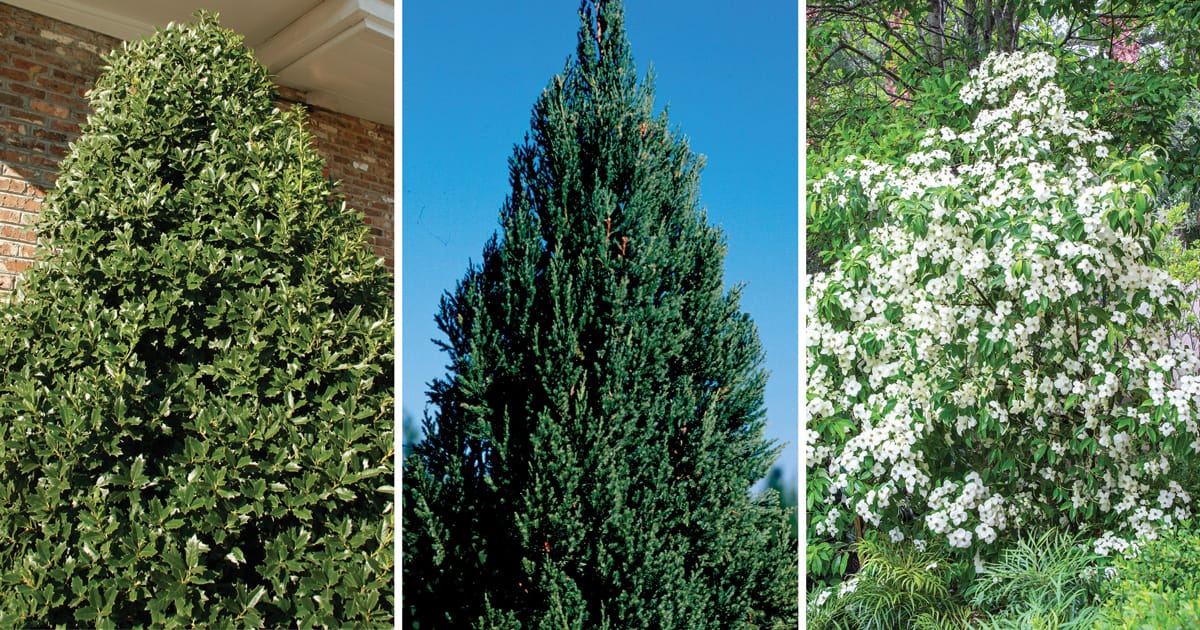
Evergreens trees like Oakland™ Holly and ‘Blue Point’ Juniper create the backbone of a landscape alongside understory specimens such as Empress of China® Dogwood. But when your property rises and falls across a hillside, establishing trees can be a bit tricky. Common challenges include inadequate water infiltration and uneven root depth. These problems are overcome by creating a small planting shelf as we install trees, which helps direct water flow and ensure the proper planting depth.
Step 1: Locate the Root Collar
The first step to planting trees in any location is finding the root collar – the zone where the root system meets the trunk of the tree. The root collar is visible as a slight outward curve as the trunk meets the roots. Sometimes loose soil in containers buries the root collar when plants are shipped. Expose the root collar by gently brushing away soil around the trunk until you see the flare. You may need to remove excess soil until the top of the root ball exposes the root collar.
Locating the root collar is essential to setting the proper planting depth of a tree. The number one cause of tree failure is planting too deep, which causes roots to circle the trunk and restrict the flow of water and nutrients. For greatest success, set trees so the top of the root collar sits above the soil level and the flare of the roots sits just below soil.
Step 2: Excavate a Planting Hole
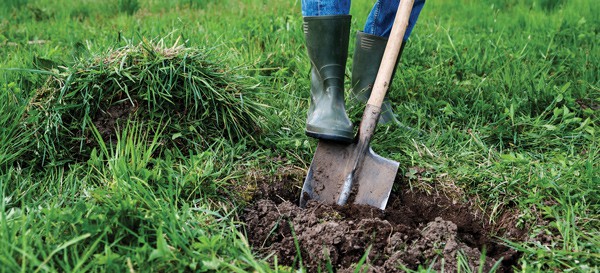
Trees require wide planting holes to allow plants to establish a strong root system. As a rule of thumb, dig the planting hole three times the diameter of the root ball. Set the depth of the planting hole according to the height of the root ball such that the root flare or collar will be level with the original soil grade. While excavating the planting hole, pile some of the soil downslope of the hole as you work. Remember to excavate a wide hole, three times as wide as the root ball.
Step 3. Create a Planting Shelf
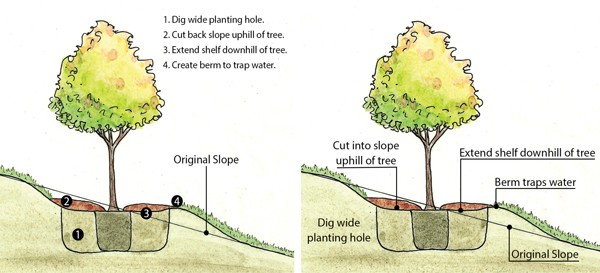
When planting on a slope, we risk planting the uphill portion of the roots too deep, and exposing the downhill portion of the root ball. This problem is easily avoided by creating a small planting shelf, as illustrated below.
Step back from the planting hole and visualize a small terrace around the tree. Cut back the slope above the tree to create a flattened area uphill of the planting hole. This will prevent the uphill roots from being buried too deep. Place excess soil downslope of the tree to extend the shelf, which will ensure roots on the downhill side of the tree remain buried. On very steep slopes it may be necessary to reinforce the shelf with rocks or other hardscape materials.
Irrigating trees on a slope can be challenging, as water tends to run quickly downhill. To increase water filtration around the tree, add enough soil to create a small berm on the downhill portion of the shelf to trap water and encourage movement into the soil.
Finishing Touches
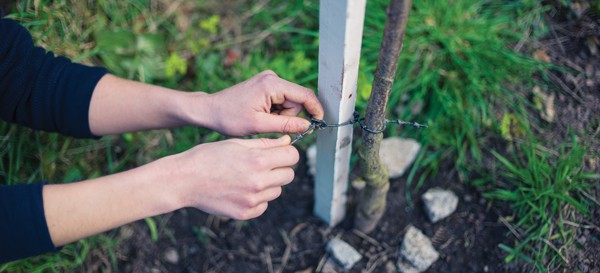
Plant the tree as you would in any other situation. Begin by loosening the root ball if the tree is root bound and untangle any circling roots, cutting with a hand pruner as needed. Roughen the sides of the planting hole to encourage root penetration and backfill using the original soil. Because you are working on a slope, pay close attention to the angle of the tree, using stakes if needed to hold the tree upright. Apply mulch in a ring around the base of the tree, but not too close to the trunk. Water the tree well and be sure to irrigate regularly as the tree establishes.

