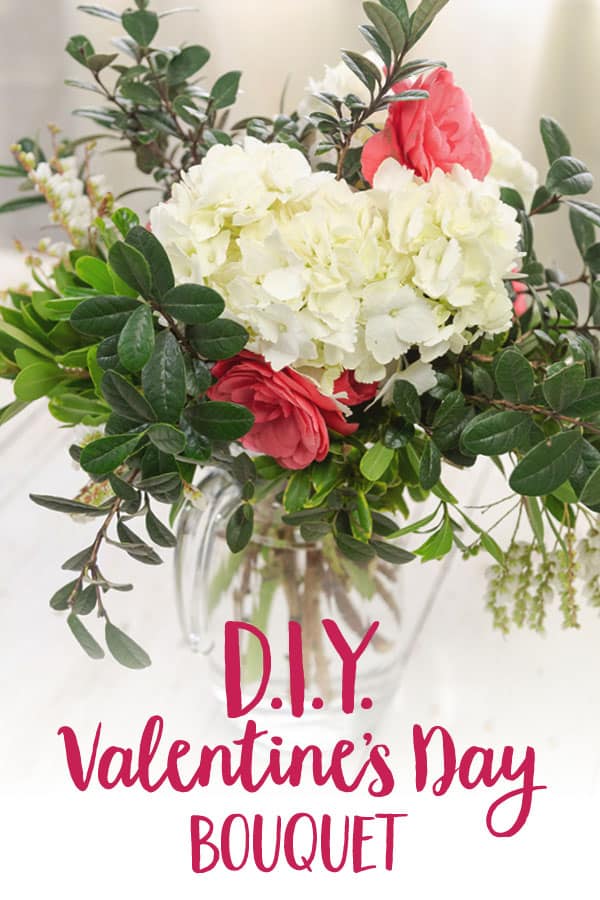
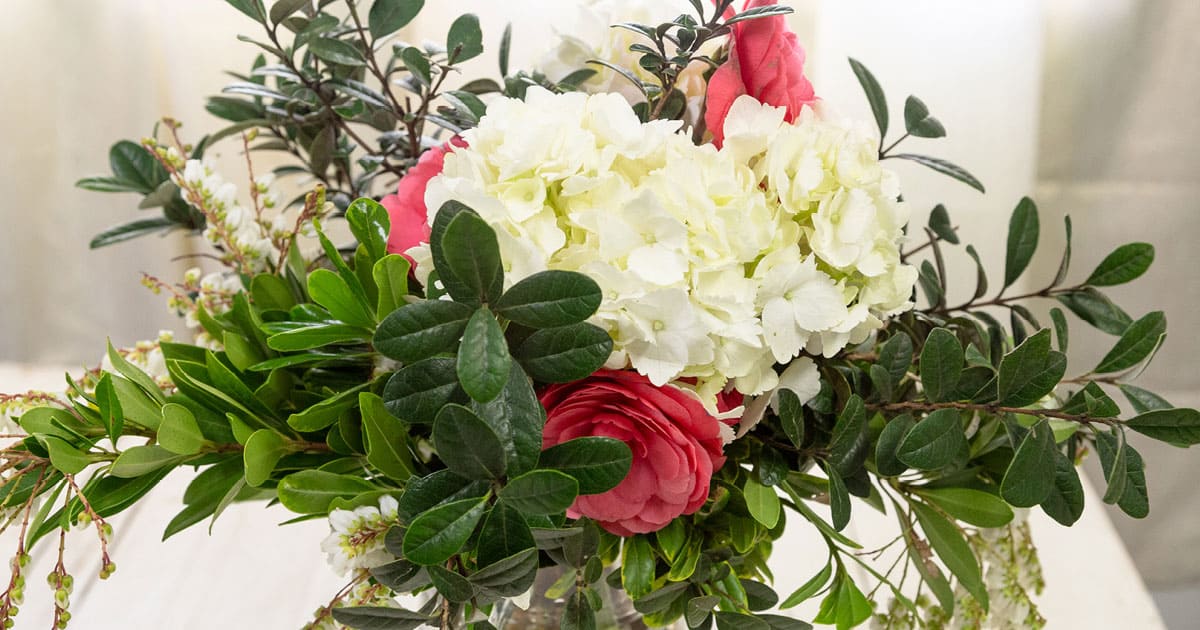
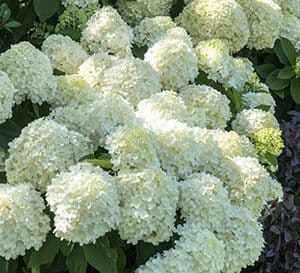
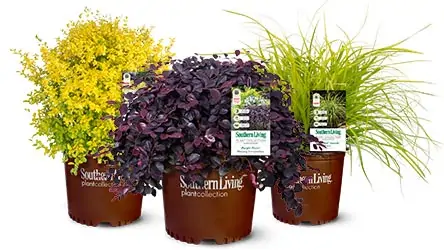
This Valentine’s Day you don’t have to spend a mint! Instead, create a beautiful bouquet with what’s growing in the garden. If you’re anything like me and love hydrangeas, you’ll have to brave the grocery store for at least a few since they are not blooming just yet. The rest of your materials should easily be found in your garden.
The flowers and foliage of this season are some of my absolute favorites for making hand-held bouquets. Every month yields its own special set of flowers and foliage for a bouquet unique to its season, but February has some of the best!
Don’t keep these beautiful blooms all to yourself. February is all about expressing your love and there is no better way to do that than with a gorgeous array of fresh-from-the-garden blooms. Be creative and give your loved one a special, handcrafted bouquet that can’t be found in stores.
How to create a Valentine’s Day bouquet:
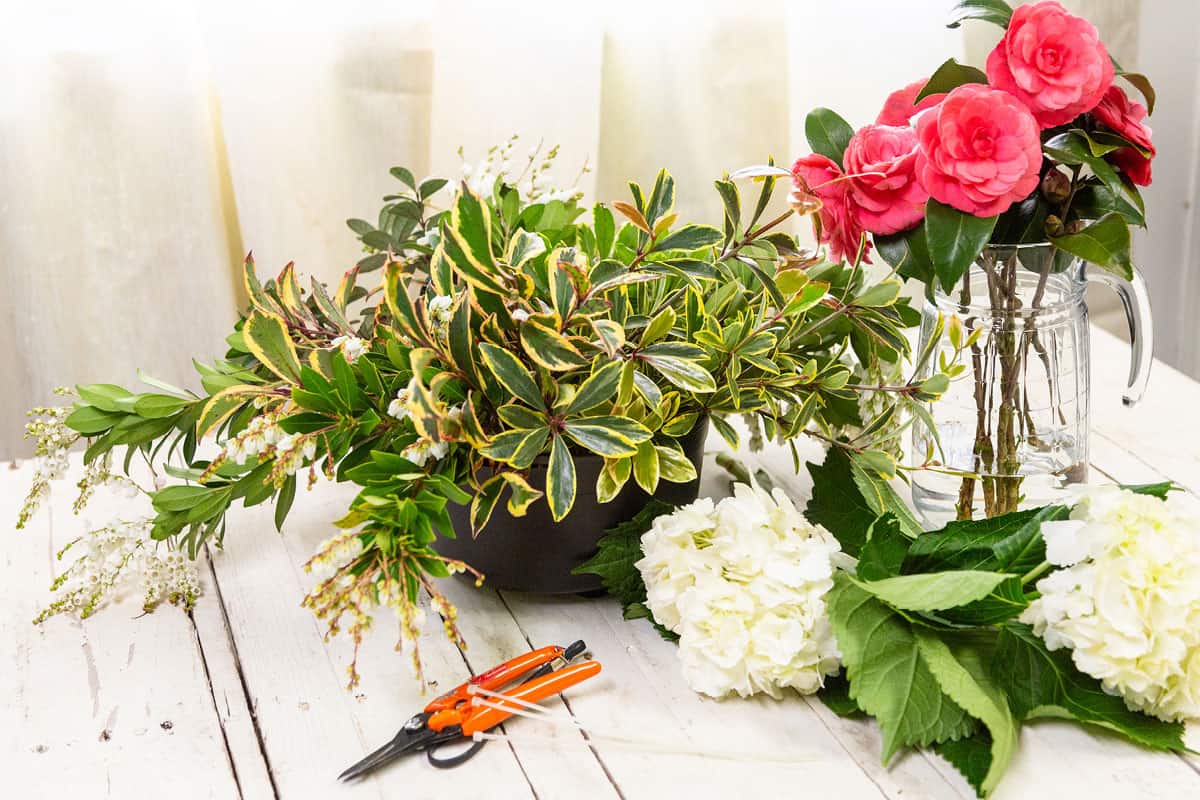
Step 1: Cut all of your greenery and blooms at least 8-10 inches long. Place in individual glasses of water for 3-8 hrs.
Tip: Let your foliage and blooms drink all the water they can before you arrange them in your bouquet. They will last much longer this way!
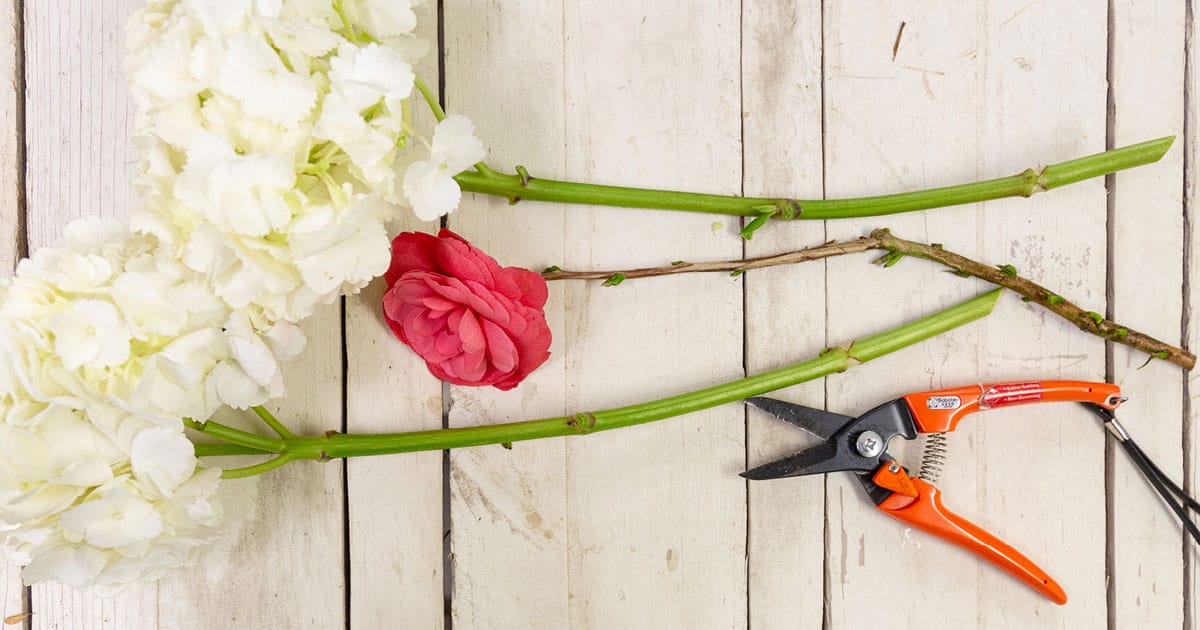
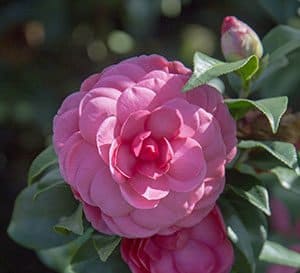
Step 2: Remove all of the leaves from your Hydrangea and Camellia stems. We used Early Wonder® Camellias for their longevity in bouquets.
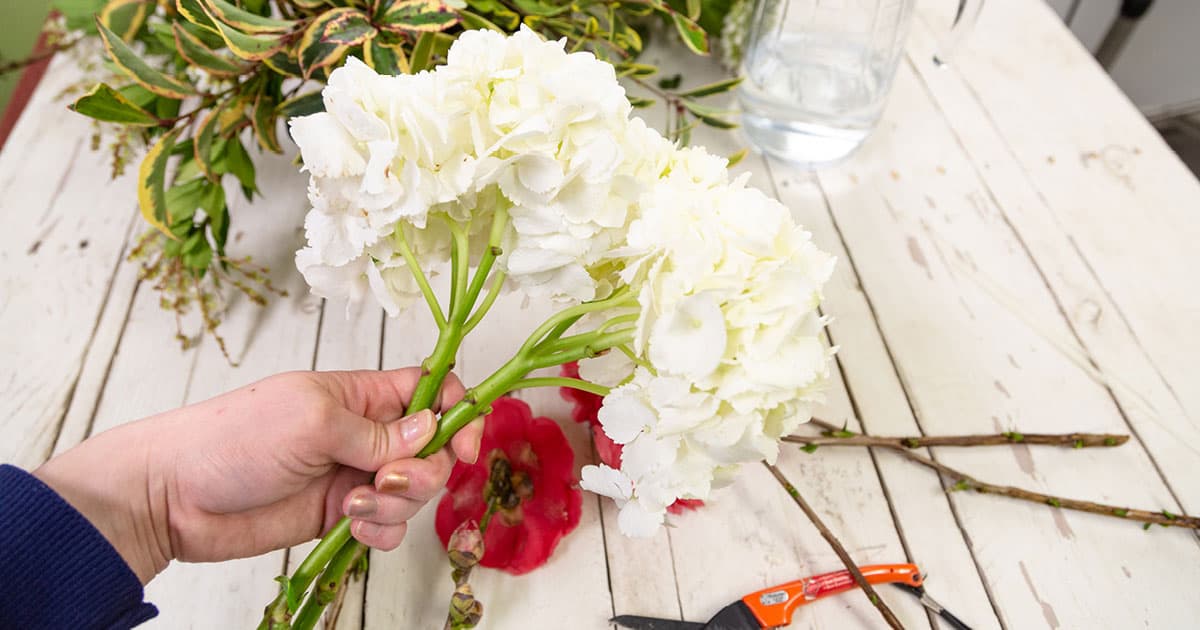
Step 3: Take two hydrangeas and place them together. You have just created the base for your arrangement.
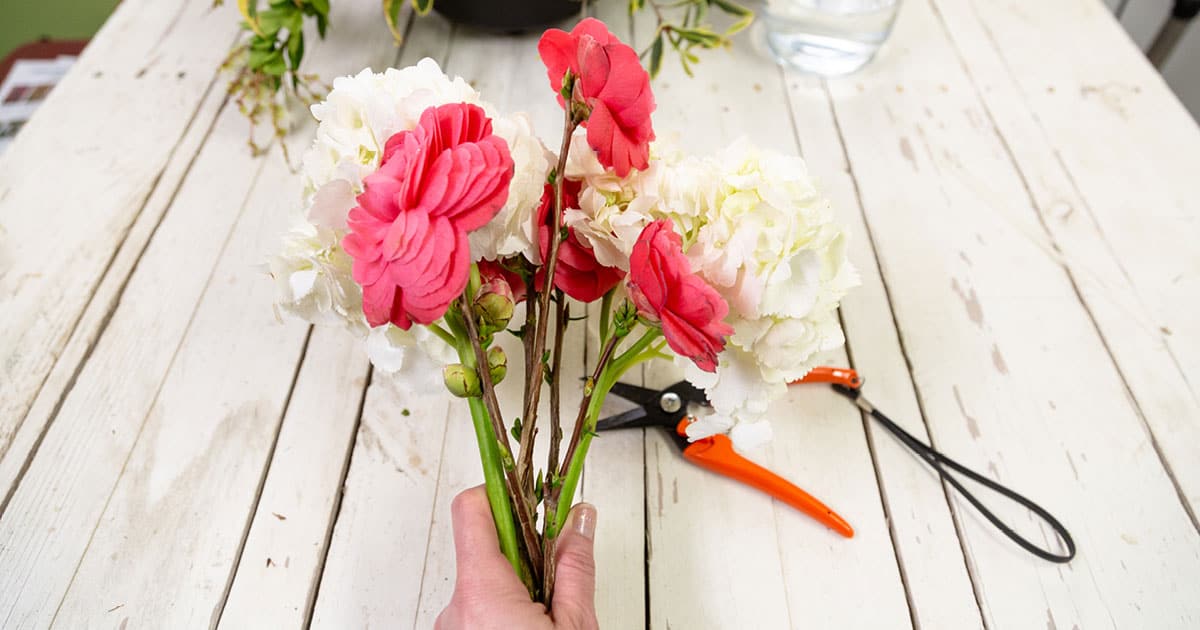
Step 4: Insert a Camellia stem in the middle of your Hydrangeas. Then take four camellias and use them to frame your hydrangeas creating a “box” around them with each camellia acting as a corner in the box.
Tip: Always place your largest blooms first while holding the bouquet loosely in your hands so that the stems can slide easily into place.
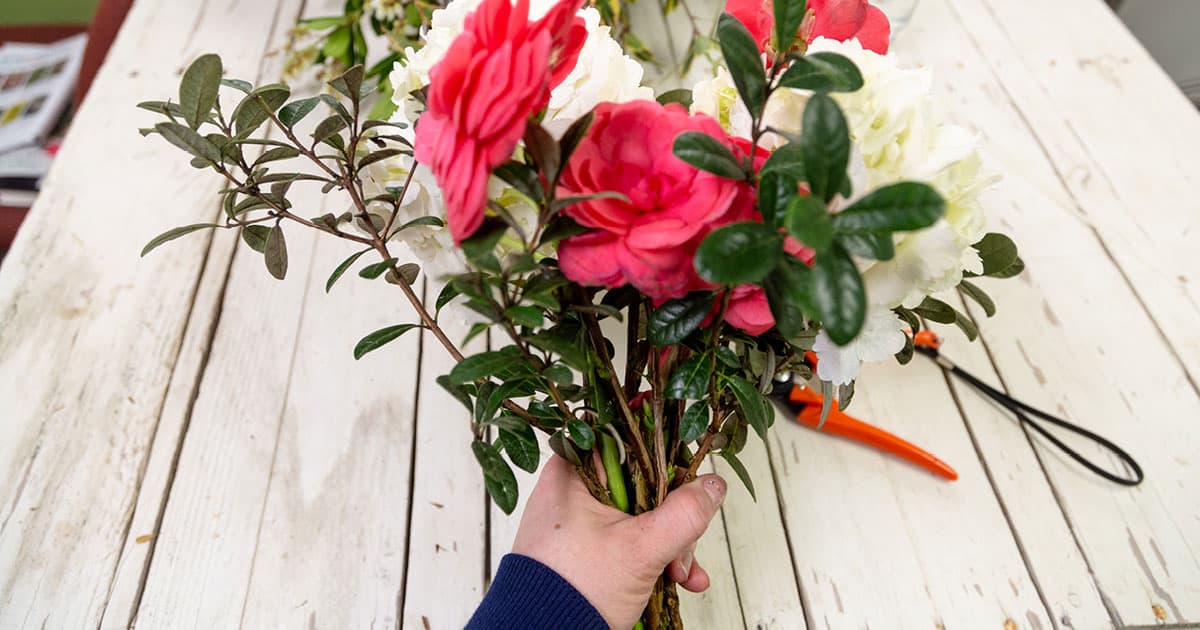
Step 5: Next, place stems of Bambina Pineapple Guava foliage in the bouquet next to your camellias.
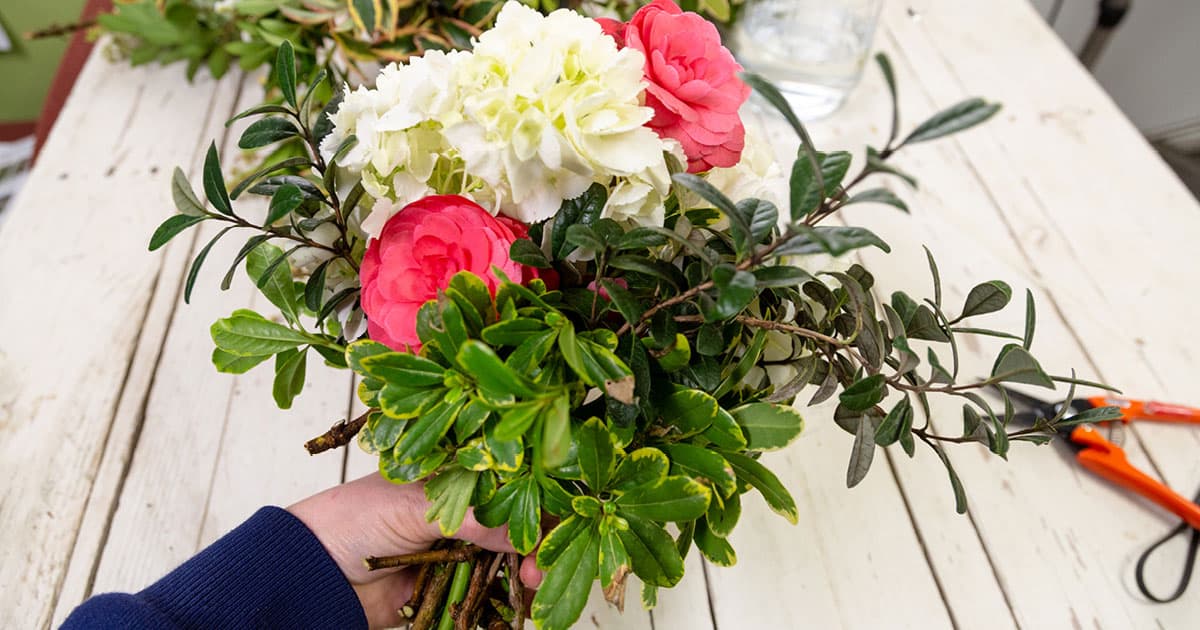
Step 6: Add texture and contrast using Mojo® Pittosporum all around the bouquet..
Tip: Removing the foliage from the stems makes it easier to hold the bouquet while arranging it.
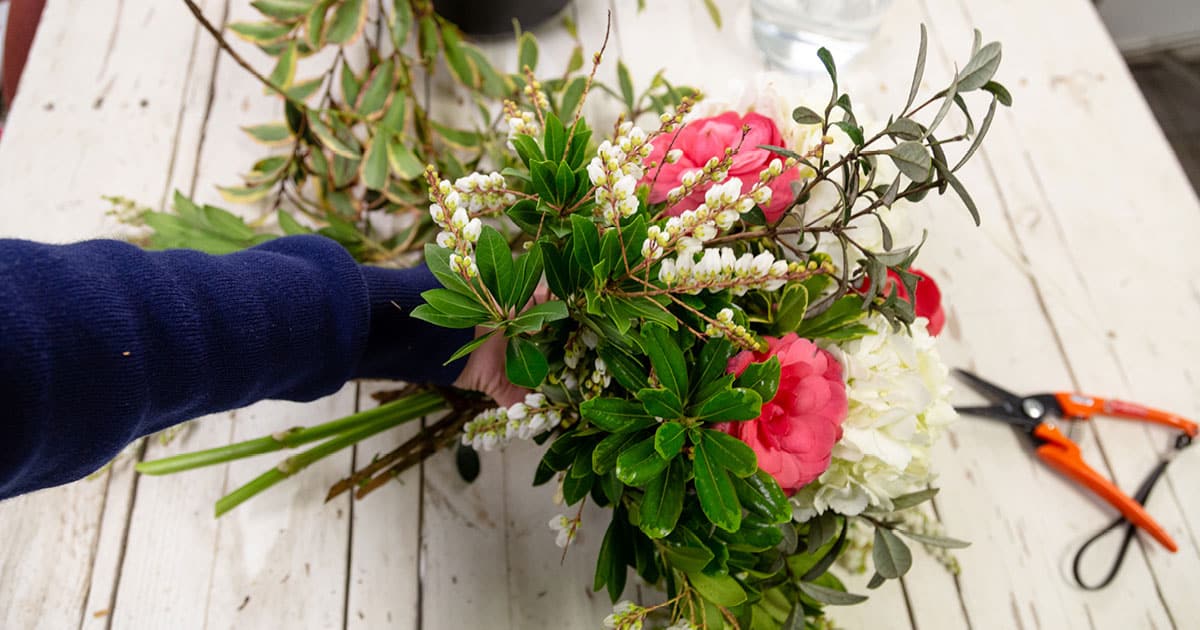
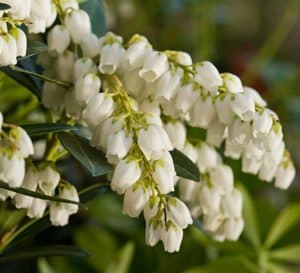
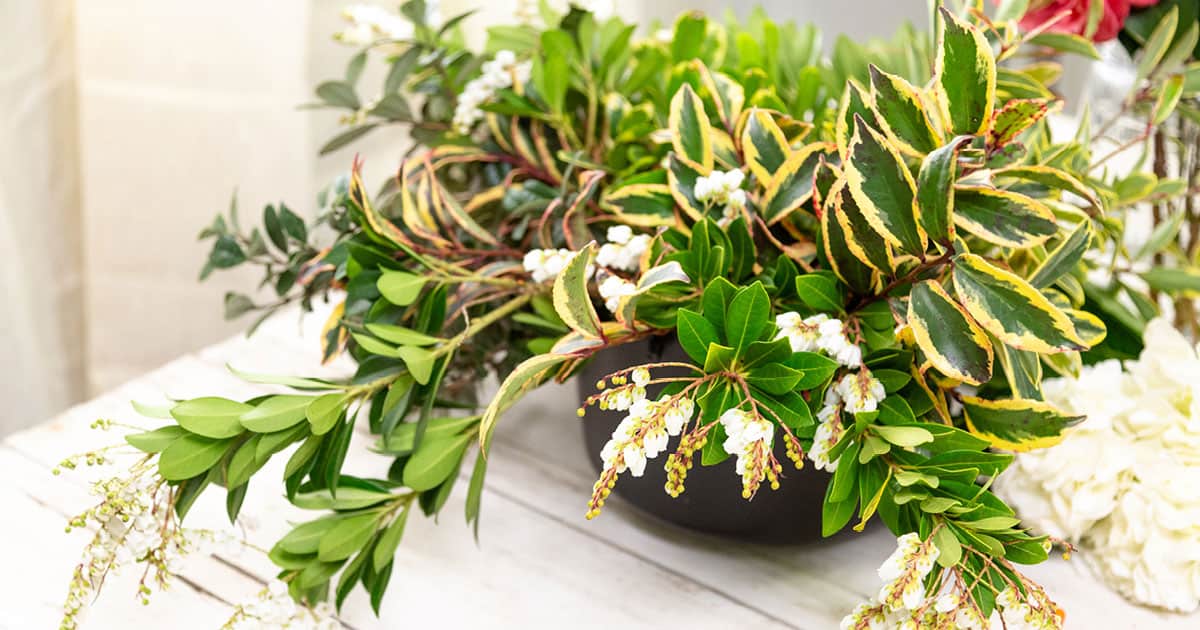
Step 7: Add three stems of Mountain Snow™ Pieris. The Pieris will soften the edges as you place it in the shape of triangle.
Tip: your hand should look like the image below with stems sticking out everywhere.
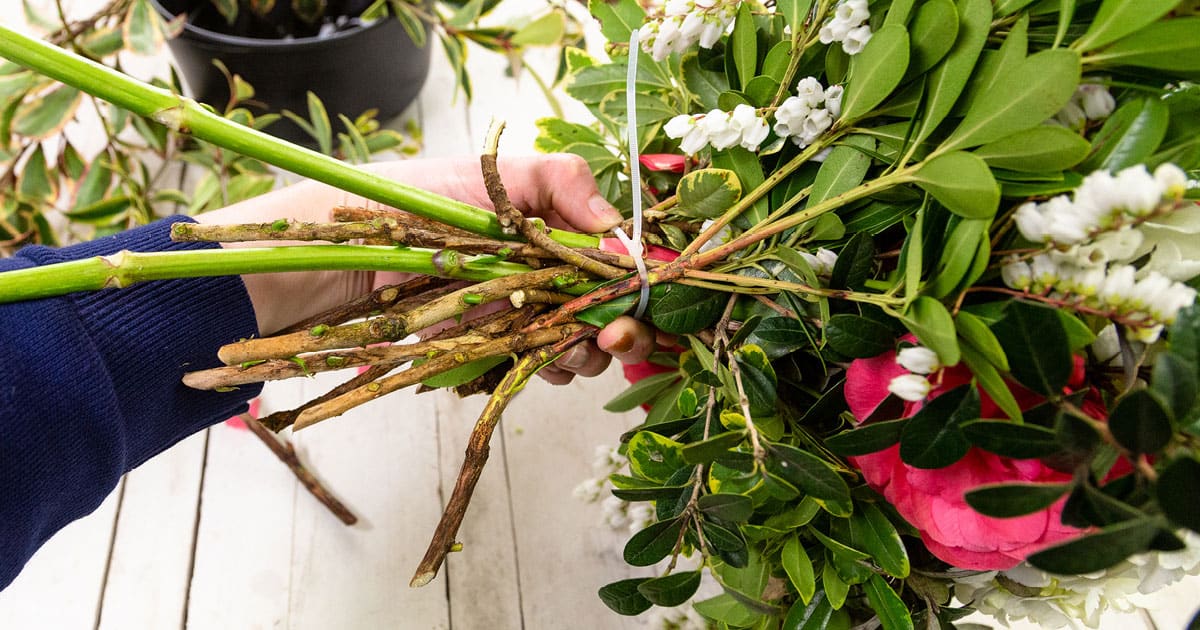
Step 8: Place the zip tie around the top portion of the stems and fasten. This is one of my favorite tricks for creating bouquets that will remain firm and intact.
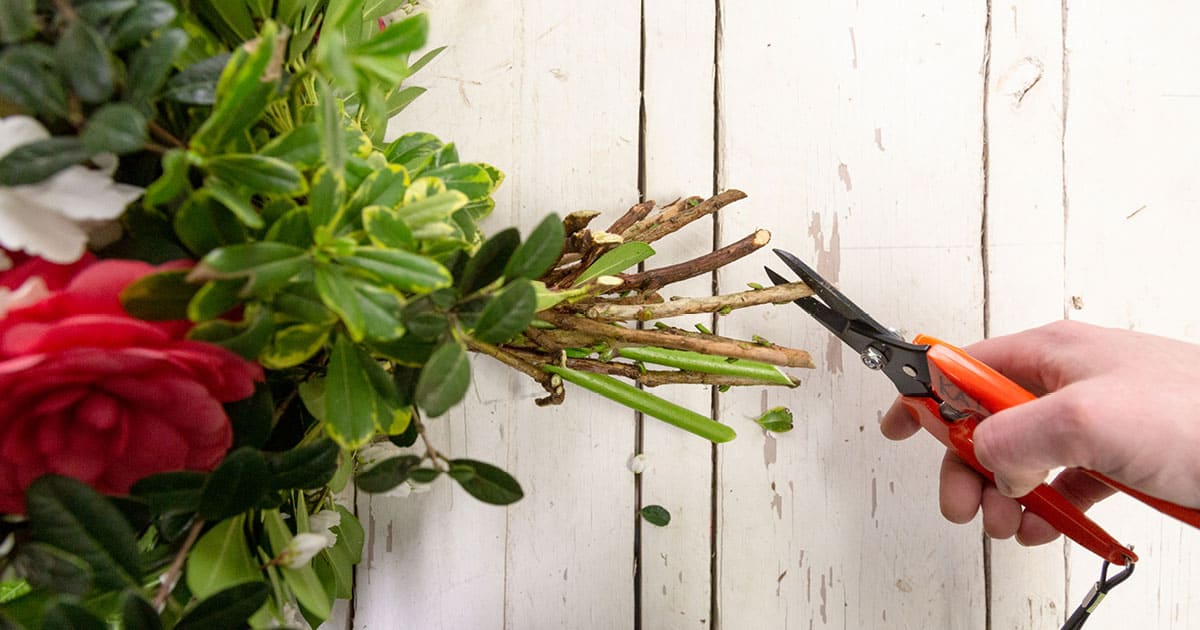
Step 9: Lastly, give your bouquet a fresh cut to make your stems straight and even.
Now place your arrangement in a decorative jar or vase filled with water. Voilà! Your Valentine’s Day bouquet is complete. Now remember that creating a well-sculpted bouquet takes practice so don’t be discouraged if your first attempt is less than perfect. Keep working at it, and the finished product will get better and better with time. Your significant other will be incredibly impressed with your new talent and moved by your special labor of love. It’s because of breathtaking bouquets like this that I continue to plant shrubs and flowers in my garden. My dear friend calls it planting with a purpose and that is how you can create Bouquets for Days all year long!
Pin it for later!
